Flashing your firmware
Step 1: Creating a new firmware project
- Please log into your account, then click the settings link in the navigation bar at the top, just below the FlashMyPico logo. This will take you to your project list, which may be empty the first time you try this.
- Click new in the bottom row of the navigation bar. You should see the new firmware project form now.
- Fill in the form with your projects handle, and title.
- Pick your microcontroller type from the form's intended device drop down list.
- Click the Create button.

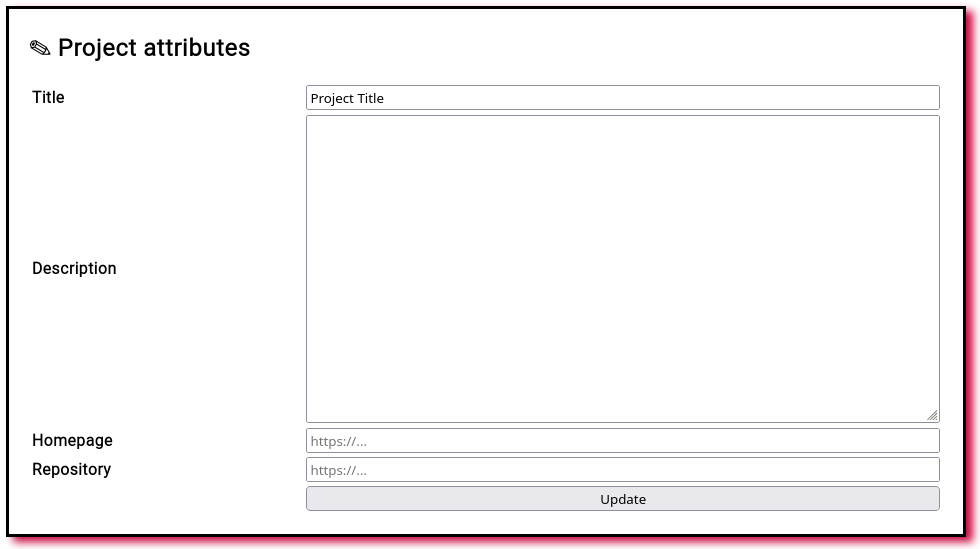
Step 2: Fill in your project's attributes
The attribute editor lets you modify the text, and the links displayed on the project's web page. You may enter your project's description now, or move on to the next step: access management.

Step 3: Setting the project's password
New projects are accessible to anyone holding a project link (URL). If you'd like to protect your project with a password, use the access link you should find in the bottom row of the navigation bar. If the link doesn't appear to be there, please click settings, find your project on the list, then click its inspect link.

Step 4: Uploading the UF2 file
Similarly, navigate to upload in order to put your first firmware image on-line. Uploading the file will generate a new firmware fuild, which is the same as a separate firmware version, together with the contents, and metadata. You can see all of your project's builds in the builds tab linked next to upload.


Step 5: Publishing
Newly created projects aren't being automatically listed in the browse tab, and on your profile page. If you'd like to change this, navigate to the publishing tab.

Step 6: Flashing
To flash your firmware, you need to access your project's web page.
- Navigate to the projects tab found under the settings tab.
- Find your project's title in the list, then click it
- Choose the firmware version from the drop-down list
- Connect your microcontroller, and place it in the bootloader mode.
- Click "Flash!", and wait for the process to finish.
- Manually reboot your microcontroller, if it did not reboot after flashing.
